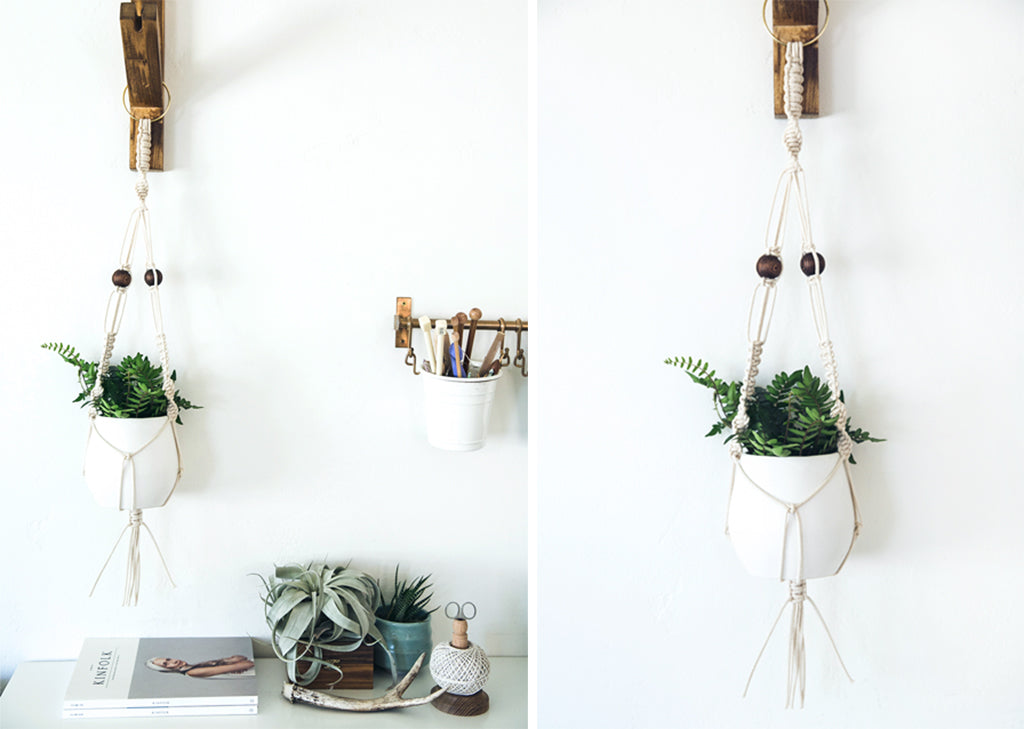
Add a 70's touch to your home with a simple macramé hanging planter. It may sound like you need to be super-crafty, but once you've mastered the basic knot there is no limit to the masterpieces you can create. Stick around to see how to make your very own hanging planter.

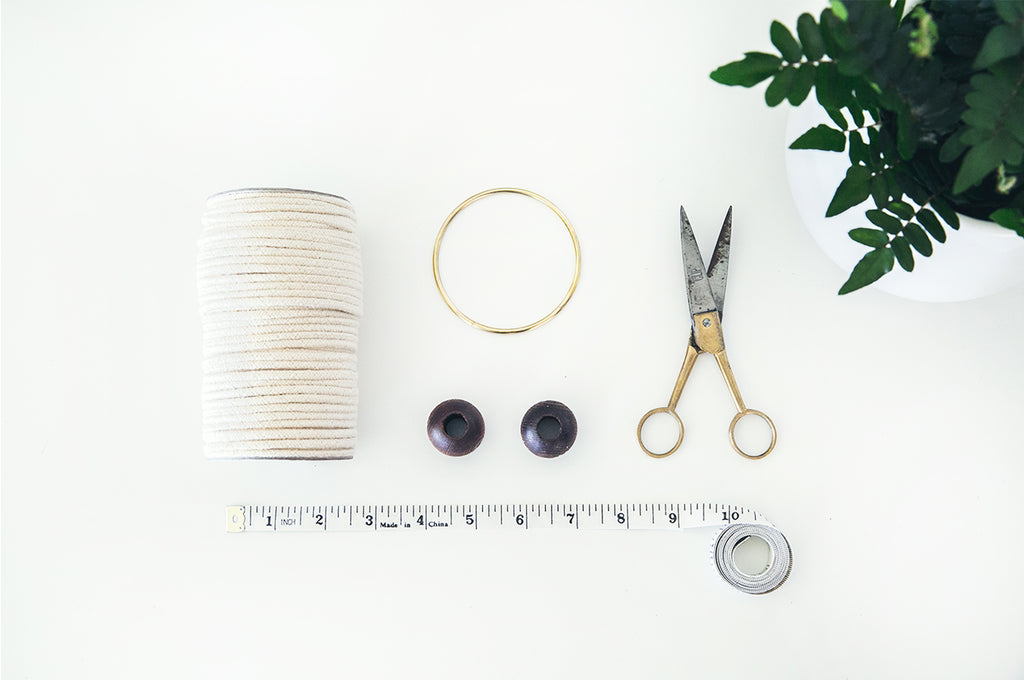
Materials: metal ring | wood beads | measuring tape | cotton rope | scissors | pot & plant | dowel (not pictured)

Cut four pieces of rope: two that are five yards long, and two that are three yards long.
Learning the basic knot- a Square Knot. Let's practice...

- Lay out four strands. (We have used one pink and one green for instructional purposes)
- Cross the left cord, currently the pink cord, over the middle cords, and under the green making a figure "4".
- Bring the right cord, currently the green cord, behind the middle ones, and over the pink cord as shown. Tighten your knot all the way up to the top. This is a half-square knot.
- Starting on the right this time, we'll repeat the process. Cross pink over the middle strands and under the left most strand, currently the green. Then, cross the green behind the middle and over the loop made by the pink. Pull evenly throughout to secure. Now you've made a square knot!

- Slide your metal ring to the center of your dowel.
- Stabilize your dowel at a height that is comfortable to work from, bearing in mind that your hanger is going to get quite long.
- Find the halfway point of each of your four cords and fold them, creating eight strands. Thread them through the ring, positioning your ring at the midpoint of each strand.

- Find two of your longer cords and, just as you did above, make a square knot. This time, you are going over six cords not two.
- Using these same longer cords, separate one to the right side and one to the left and tie six more square knots. Tip: Tug to tighten, it helps to make sure the cords aren't twisting when you tie.


- Continue by making six half square knots, always starting with your the left hand cord. This series of half square knots will slowly create a spiral.
- Once you have completed your spiral, separate your cords into two groups. Each group should have two short cords, and two long cords.

- Separate cords in to two groups
- Take one grouping of cords and move down about three inches, then make a square knot.
- Slide a wooden bead on the two middle cords and make another square knot to secure it.
- Skip another three inches down the cord and repeat the sequence we started with – six square knots and six spiraling half square knots.
- Repeat on the other group.
We're almost there | Grab your planter

- For the location of your next knot, consider the height of your planter. If it's six inches tall, as ours was, your next knot will be three inches down the cord.
- Looking at your two groups of cords, take centermost cord from each group and pair them up. Make a square knot (unlike your other square knots, you will not have cords traveling through the middle this time).
- Now that we have a knot connecting our two groups, let's focus on one group at a time.
- Starting with the left, create a square knot from the two centre cords. Repeat with the other group.
- Finally, you will see your outermost strand of each group remains. Complete your basket by knotting these cords together.

- Pull your cords around your planter, you might need an extra hand when doing this.
- For the final knot, join the cords at the bottom of the pot with a series of square knots.
- Plant a beautiful plant in it and enjoy in your home or outside!

We would love to see your beautiful pieces so please tag us @shoppigment on Twitter or #pigmentdiy on Instagram. If you loved this project keep an eye out for a Macramé workshop coming soon.
Happy crafting! xo - Pigment


Comments
Hi! What kind of metal ring did you use? Would a bigger key ring work? Or is that too flimsy?
Hi Susie Lee. We used 32 ply cord but you can use any size cord, it will just change the look of the hanger slightly. Happy Crafting!
hi there, I was wondering if I can use two ply cotton rope for this project. What ply did you use? Thank you :)